

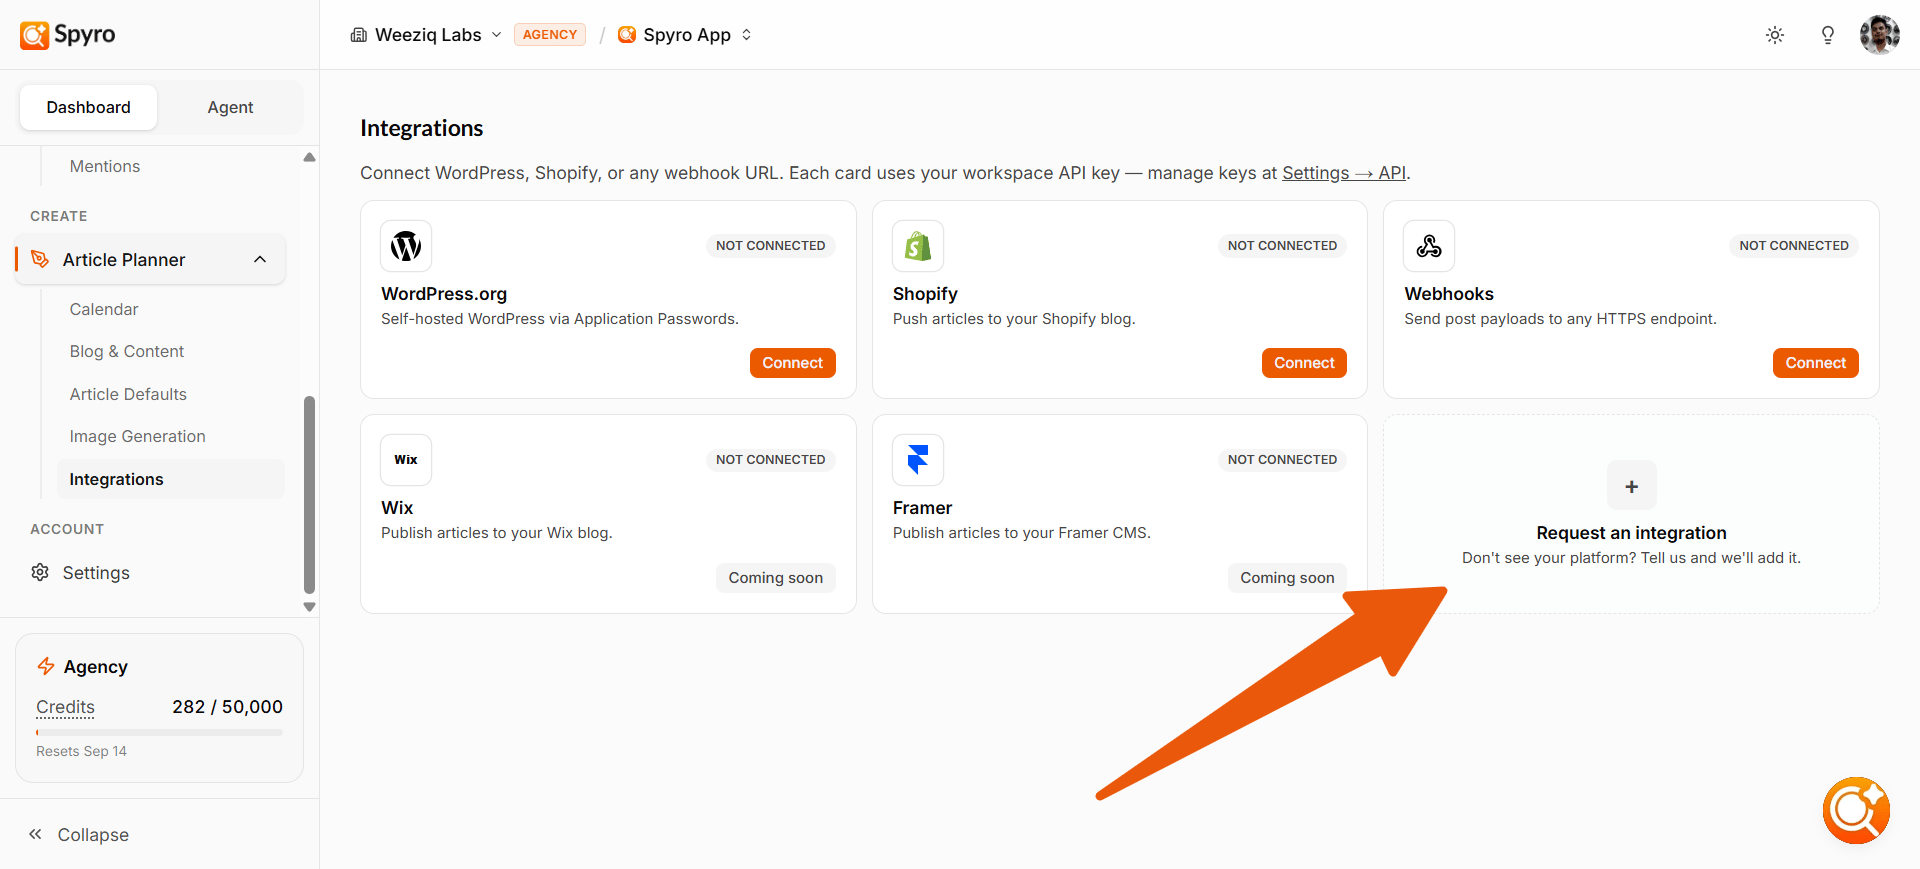
- Publishing connections - so Spyro can send finished articles straight to your website.
- Data connections - so Spyro can pull in your real search performance.
Publish your articles
Connect where your blog lives, and you can publish articles from Spyro with one click. You can set these up under Content settings → Integrations.WordPress (self-hosted)
For a WordPress site you host yourself.
Shopify
Push articles straight to your Shopify blog.
Webhooks
For sending your articles to any other system that accepts them.
Connect WordPress (self-hosted)
1
Create an Application Password in WordPress
In your WordPress admin, go to your user profile and create a new Application Password. This is a special password just for Spyro - safer than your real one.
2
Add it to Spyro
In Spyro, open Content settings → Integrations, choose WordPress (self-hosted), and paste your site address, username, and the application password.
3
Publish
Now, when you finish an article in the AI writer, you can publish it straight to your site.
Connect Shopify
1
Enter your Shopify store address
In Spyro, open Content settings → Integrations, choose Shopify, and enter your store address (for example,
my-store.myshopify.com).2
Connect with Shopify
Click Continue with Shopify and approve the permissions. Spyro publishes articles straight to your Shopify blog via the Admin API.
3
Publish
Now, when you finish an article in the AI writer, you can publish it straight to your Shopify store.