

Why this matters
The few questions Spyro asks during setup help it work smarter for you later. Once Spyro knows your brand, who you sell to, and who you compete with, it can write better content, ask the right questions to AI assistants, and give you fixes that actually fit your site.Sign up
1
Create your account
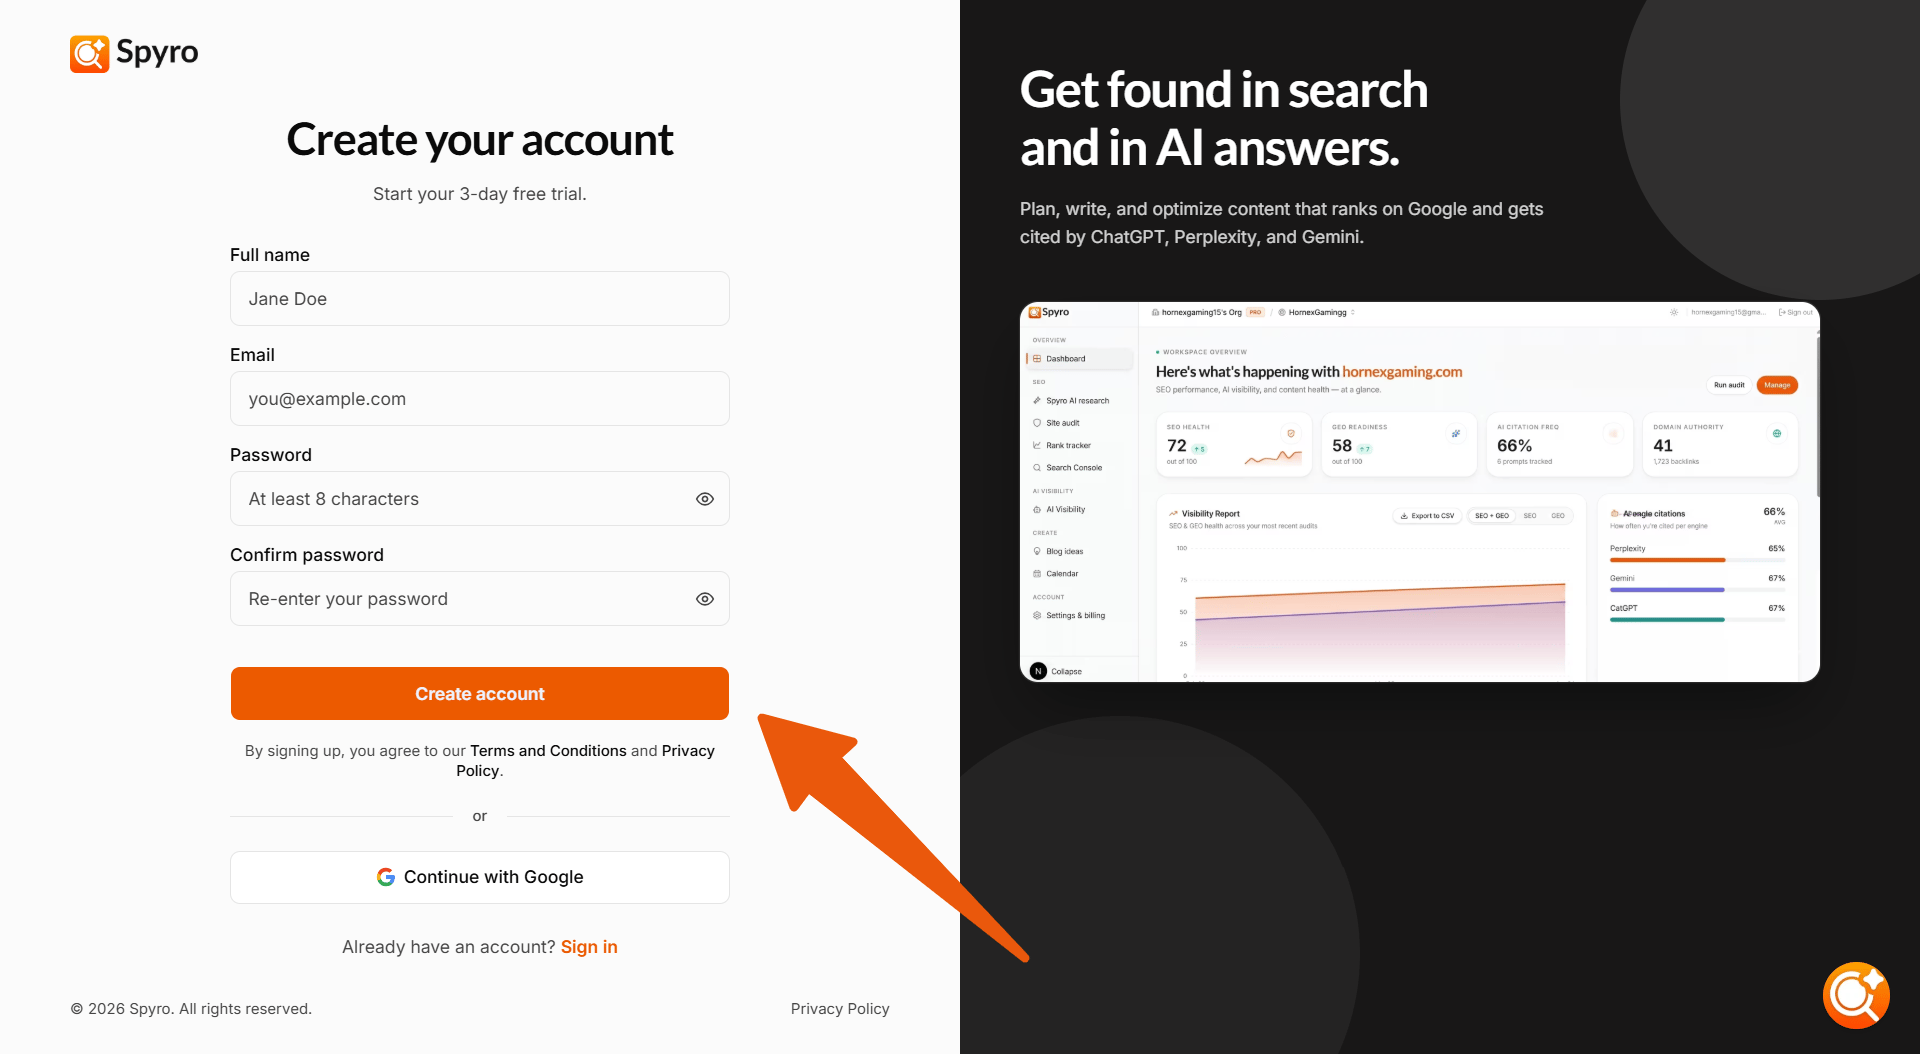
Open the sign-up page and start your free trial. Enter your name, email, and a password - or choose Continue with Google to skip the password step.
2
Confirm your email
Spyro emails you a short verification code. Type it in to confirm your address. If it doesn’t arrive, click Resend code. (If you signed up with Google, you can skip this step.)
3
Add your website
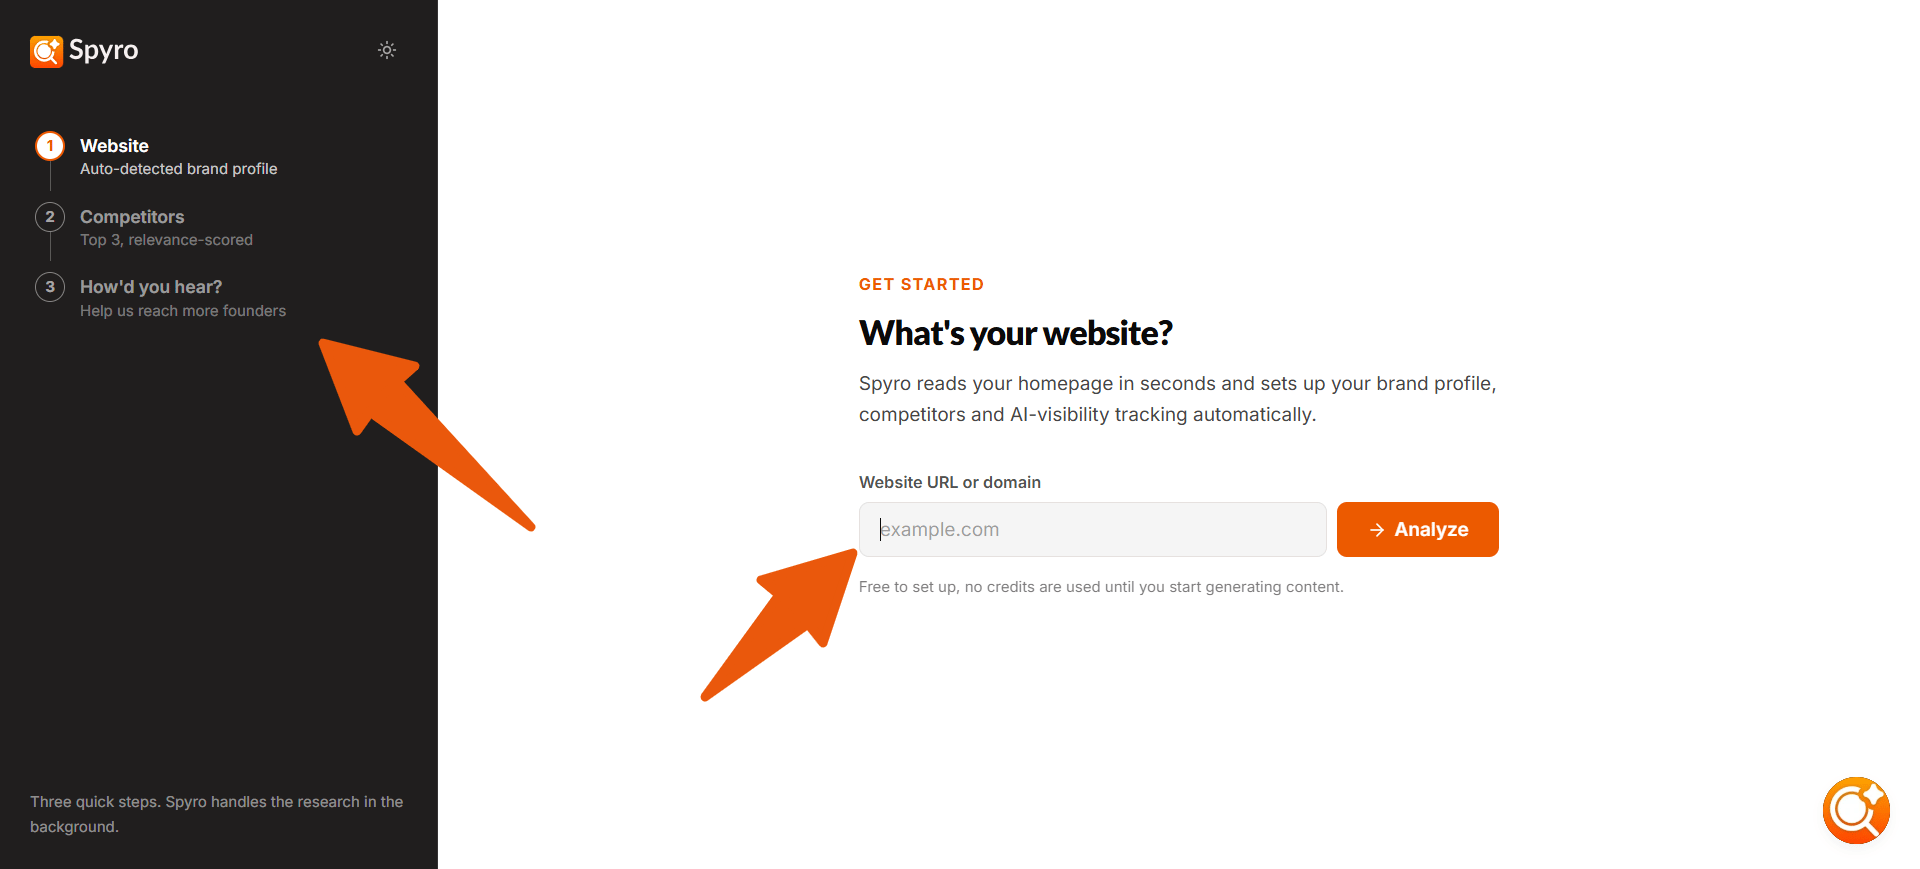
On the first setup screen, enter your website address (for example,
example.com) and choose Analyze. Spyro starts learning about your site right away.What Spyro does automatically
The moment you add your website, Spyro takes a quick look at it and pre-fills much of your setup for you. Anything it figures out shows up with an Auto-detected from your website label, so you know it came from your site. Spyro automatically works out:- Your brand name, brand color, logo, and language
- Your audience - who your site is for, and a short description of your business
- Your competitors - other sites going after the same customers
- A starter set of AI-visibility questions - the buyer questions Spyro will ask AI assistants to see if they mention you
Spyro only reads your public pages - the same ones any visitor can see. Everything it fills in is a draft you can edit. Change anything you like, and Spyro won’t overwrite your edits.
Finish the setup
Spyro walks you through a short, friendly wizard so you can review and tweak what it found. You can move forward and back, or jump to any step:Business profile
Business profile
Confirm the basics - brand name, color, logo, language, and country. Your country helps Spyro find the right competitors for your region.
Your audience
Your audience
Review who your site is for and your business description. Keep at least one audience group to continue.
Competitors
Competitors
Review the rivals Spyro found. Add or remove any. If the list looks off, click Retry to search again.
Blog setup
Blog setup
Point Spyro at your existing content to learn from - your blog and a few of your best articles. You can also connect Google Search Console here to bring in real search data.
Article style
Article style
Set the defaults for content Spyro writes for you - tone, focus, publishing pace, and featured-image style. You can change these later.
AI visibility questions
AI visibility questions
Review the buyer questions Spyro will ask AI assistants every week. Edit them to match how your customers really search for what you offer.
A couple of quick questions
A couple of quick questions
Spyro asks whether you’d like a hand setting up, and how you found Spyro. Then choose Finish setup.